Blog

A look back over 2024

Well as we say goodbye to 2024 and hello to 2025! I would like to wish you all a very happy New year. Thank you all for you continued support for my artwork, and for those who entrusted me with creating a loving memory or portrait of your pets, (several this year went overseas to the USA) A big thank you to all of you. As I look back on the last 12 months we have seen some sad changes in the Brooks household, the main one being the loss of our beautiful Greyhound, Daisy. Daisy was my muse for over 11 years, and she will be greatly missed. Luckily, I have several paintings of her dotted around the house, along with Otis who we lost at the end of 2023, so they will always be looking over us. The last year started with my shoulder surgery which meant no art for nearly 4 months, then the creation of my art quilt for the Australian Quilt Challenge “Oh my stars” where my quilt was selected as a finalist to tour the Eastern States.  It has now returned and is hanging on my wall alongside “Saving Magic” It is great to see them daily hanging together. I ran a couple of workshops last year and will be planning a couple for this year too. Watch this space or follow my Facebook page for details. https://www.facebook.com/@YvonnesArtwork/ Cossack Art Awards this year was another good exhibition for me too, with a sale and a Pilbara Ports People Choice award, for “When the working day is done,” that was a wonderful award to win and one of my best paintings for the year. It is too hard to choose a best piece or best portrait as I love doing all of them.  I have a couple to do for the New year, and a few for home and for sale at the cellar door at Vineyard 28 I look forward to sharing them with you on my website and on my Facebook page. Have a very safe, prosperous, and healthy 2025 everyone.

Read More »
Rumba Watercolour Finished Painting

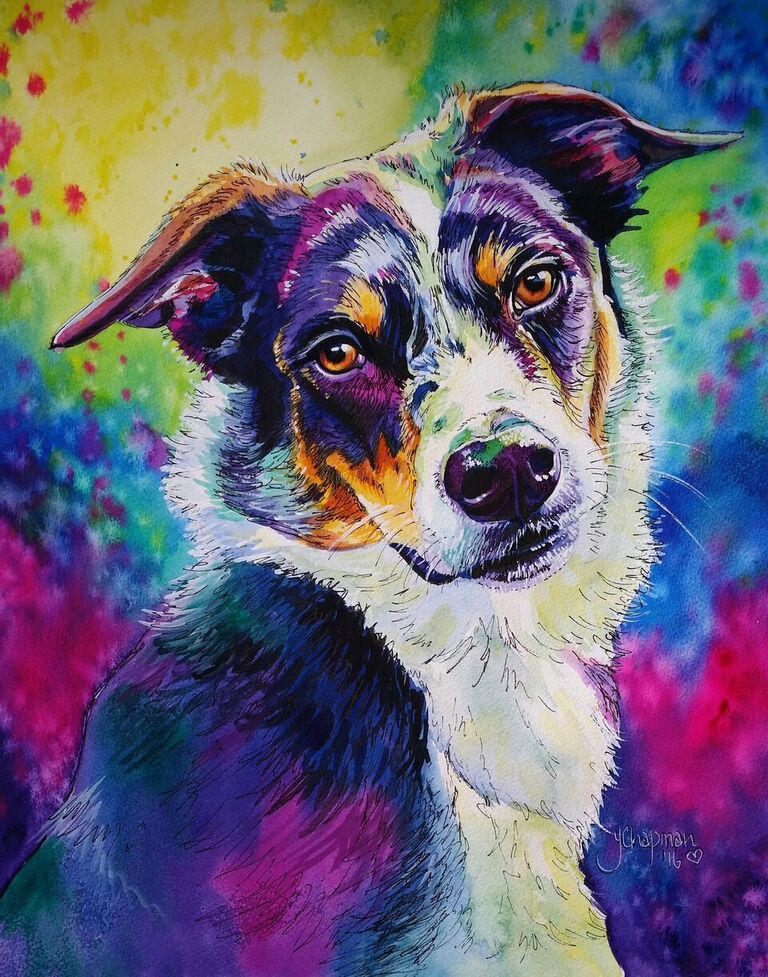
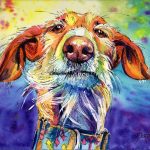
The making of a portrait

It all starts with a good clear photo, one where the subject is not blurred, not too far away in the photo and preferably in good light, head and shoulder shots that are clear and close are great for detail, when sending me images to paint try not to reduce the size of the image, larger MB are great to work with, screen shots or thumbnails from social media posts are really difficult to work with as the image enlarges or prints really blurry, not good for detail or colouring, and I always feel it shows in a painting. I can montage several images together to form group paintings, but it is always handy to know sizes of the subject in comparison to each other. I draw from photos, I use a grid to enlarge the subjects for my paintings, ensuring accuracy in the finished portrait. I begin with by painting the backgrounds which can be tonal or multi coloured, or occasionally left blank. I let the background dry completely before beginning the subject. Watercolour portraits These take a few days to produce, longer if there is a large amount of detail to include.  I begin with the palest or white areas, when completely dry I work on the darker colourings and shadings.  The eyes are the last to be painted and take several layers to complete to get that glassy, moist look. The final steps are the white gouache and the pen work, for which I use a draftsman pen with Indian ink. Acrylic Painting Acrylic painting layers are more complex and need to dry before adding another layer. Luckily, Acrylic paint is quick drying, unlike oils which have a long curing time.  The first layer is blocking in, just covering the canvas, and getting the basics in colour and shape, the second layer is the beginning of detail, and finally the fine detail and highlights are the last to be added. On this portrait I left the light tan colouring until last, the opposite to the watercolour technique.  Sometimes I will look at a finished painting for a couple of days without touching it, just checking that nothing jumps out at me that requires altering. It takes roughly a week to 10 days curing time, longer for dark paints, for the paint to dry completely, before the varnish can be applied without causing the dark paint to smear over other the colours, when the varnish has cured for a few days, the painting is ready to be shipped or hung on the wall.

Read More »
Rainbow Bridge Watercolour by Yvonne Chapman Brooks

Where it all began

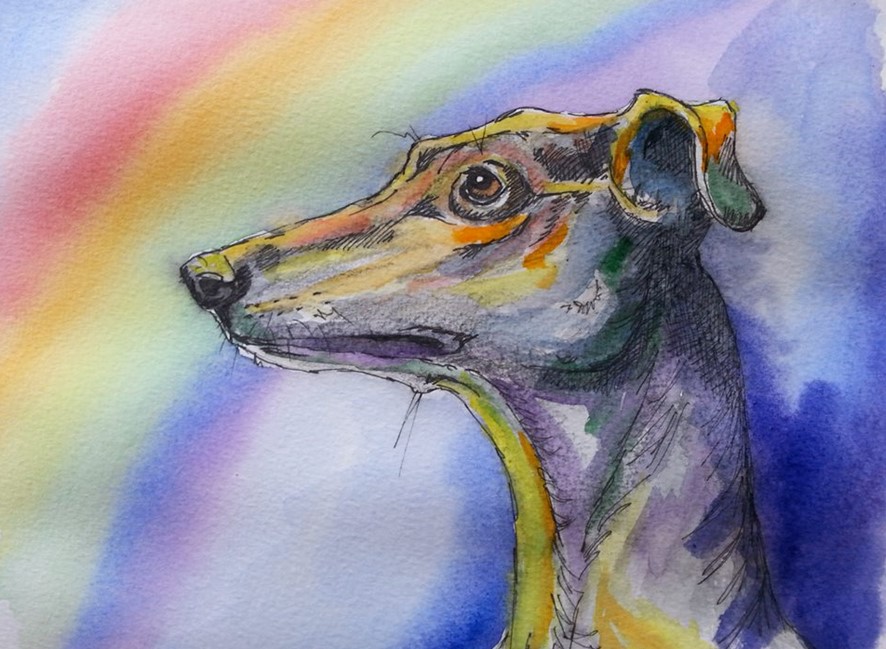
I used to avoid using watercolours, thinking they were boring and “wishy washy”, so my early portfolio consisted of Pastels and Acrylic paintings.  I used to dabble with watercolours but found the method difficult as I had never really been shown how to use them.  In my Graphic Design course, many moons ago, I had been taught the basics, the application but never how to paint with watercolour. That all changed when “Galgo’s Del Sol”, a Galgo rescue in Spain approached me and asked if I would produce an image of a generic Galgo as a condolence card, a “Rainbow Bridge” card, I decided to paint a rainbow without the usual rainbow shape, but rather how the light from the rainbow would look as it reflected on the Galgo. That was it, my first ever Rainbow watercolour! I experimented with colour, anything but the normal colours, and used the warm colours (Yellow, Orange, Yellow Green) on my highlights and cool colours (Blue, Magenta, Blue- Green and Purple) in the shading. It took a few attempts but eventually I was developing my style, my signature colouring. There were a couple of failures, and each painting gradually developed until my style was softer and more blended, but still very bright. Backgrounds Then I began to experiment with my backgrounds, nothing too bright at first, but with splashes of colour and water to create what resembled a hand dyed effect. I continued to experiment with colour in my backgrounds over the years, taking into consideration where the light would come from, and therefore how those colours would reflect on the subject, this continued to evolve until I developed the background style I use today. Challenges The biggest challenge is painting black animals, I don’t use black, I use indigo and purple then the highlights are tones of blue, purple, magenta and even greens. Occasionally highlights of yellow are used on the very bright sheen of the fur and highpoints such as eyebrows and noses. I finish with white gouache for the bright white areas and that all important dot of light in the eye. Black cat, when black isn’t black, and “Daisy” the very first pet portrait I won a First Prize with, using this style.

Read More »