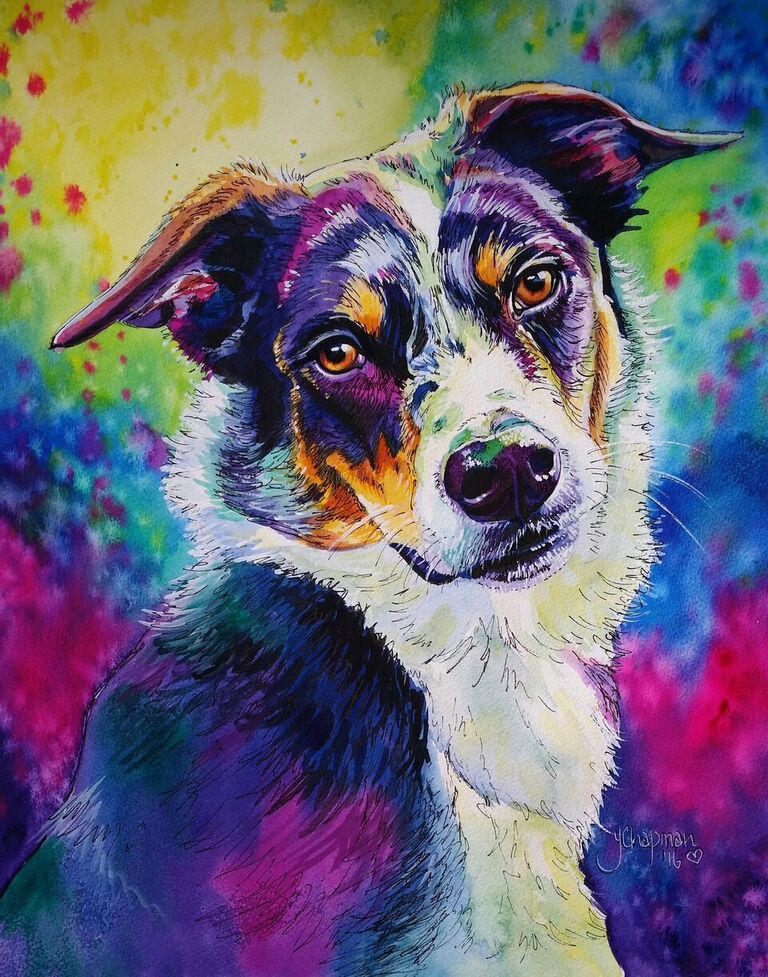
It all starts with a good clear photo, one where the subject is not blurred, not too far away in the photo and preferably in good light, head and shoulder shots that are clear and close are great for detail, when sending me images to paint try not to reduce the size of the image, larger MB are great to work with, screen shots or thumbnails from social media posts are really difficult to work with as the image enlarges or prints really blurry, not good for detail or colouring, and I always feel it shows in a painting. I can montage several images together to form group paintings, but it is always handy to know sizes of the subject in comparison to each other. I draw from photos, I use a grid to enlarge the subjects for my paintings, ensuring accuracy in the finished portrait. I begin with by painting the backgrounds which can be tonal or multi coloured, or occasionally left blank. I let the background dry completely before beginning the subject.
These take a few days to produce, longer if there is a large amount of detail to include.
I begin with the palest or white areas, when completely dry I work on the darker colourings and shadings. The eyes are the last to be painted and take several layers to complete to get that glassy, moist look. The final steps are the white gouache and the pen work, for which I use a draftsman pen with Indian ink.
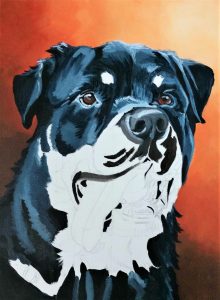
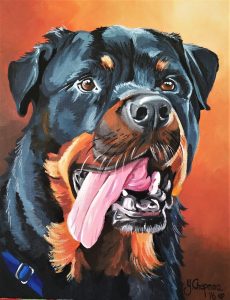
Acrylic Painting
Acrylic painting layers are more complex and need to dry before adding another layer. Luckily, Acrylic paint is quick drying, unlike oils which have a long curing time.
The first layer is blocking in, just covering the canvas, and getting the basics in colour and shape, the second layer is the beginning of detail, and finally the fine detail and highlights are the last to be added. On this portrait I left the light tan colouring until last, the opposite to the watercolour technique.
Sometimes I will look at a finished painting for a couple of days without touching it, just checking that nothing jumps out at me that requires altering. It takes roughly a week to 10 days curing time, longer for dark paints, for the paint to dry completely, before the varnish can be applied without causing the dark paint to smear over other the colours, when the varnish has cured for a few days, the painting is ready to be shipped or hung on the wall.