Saying Goodbye
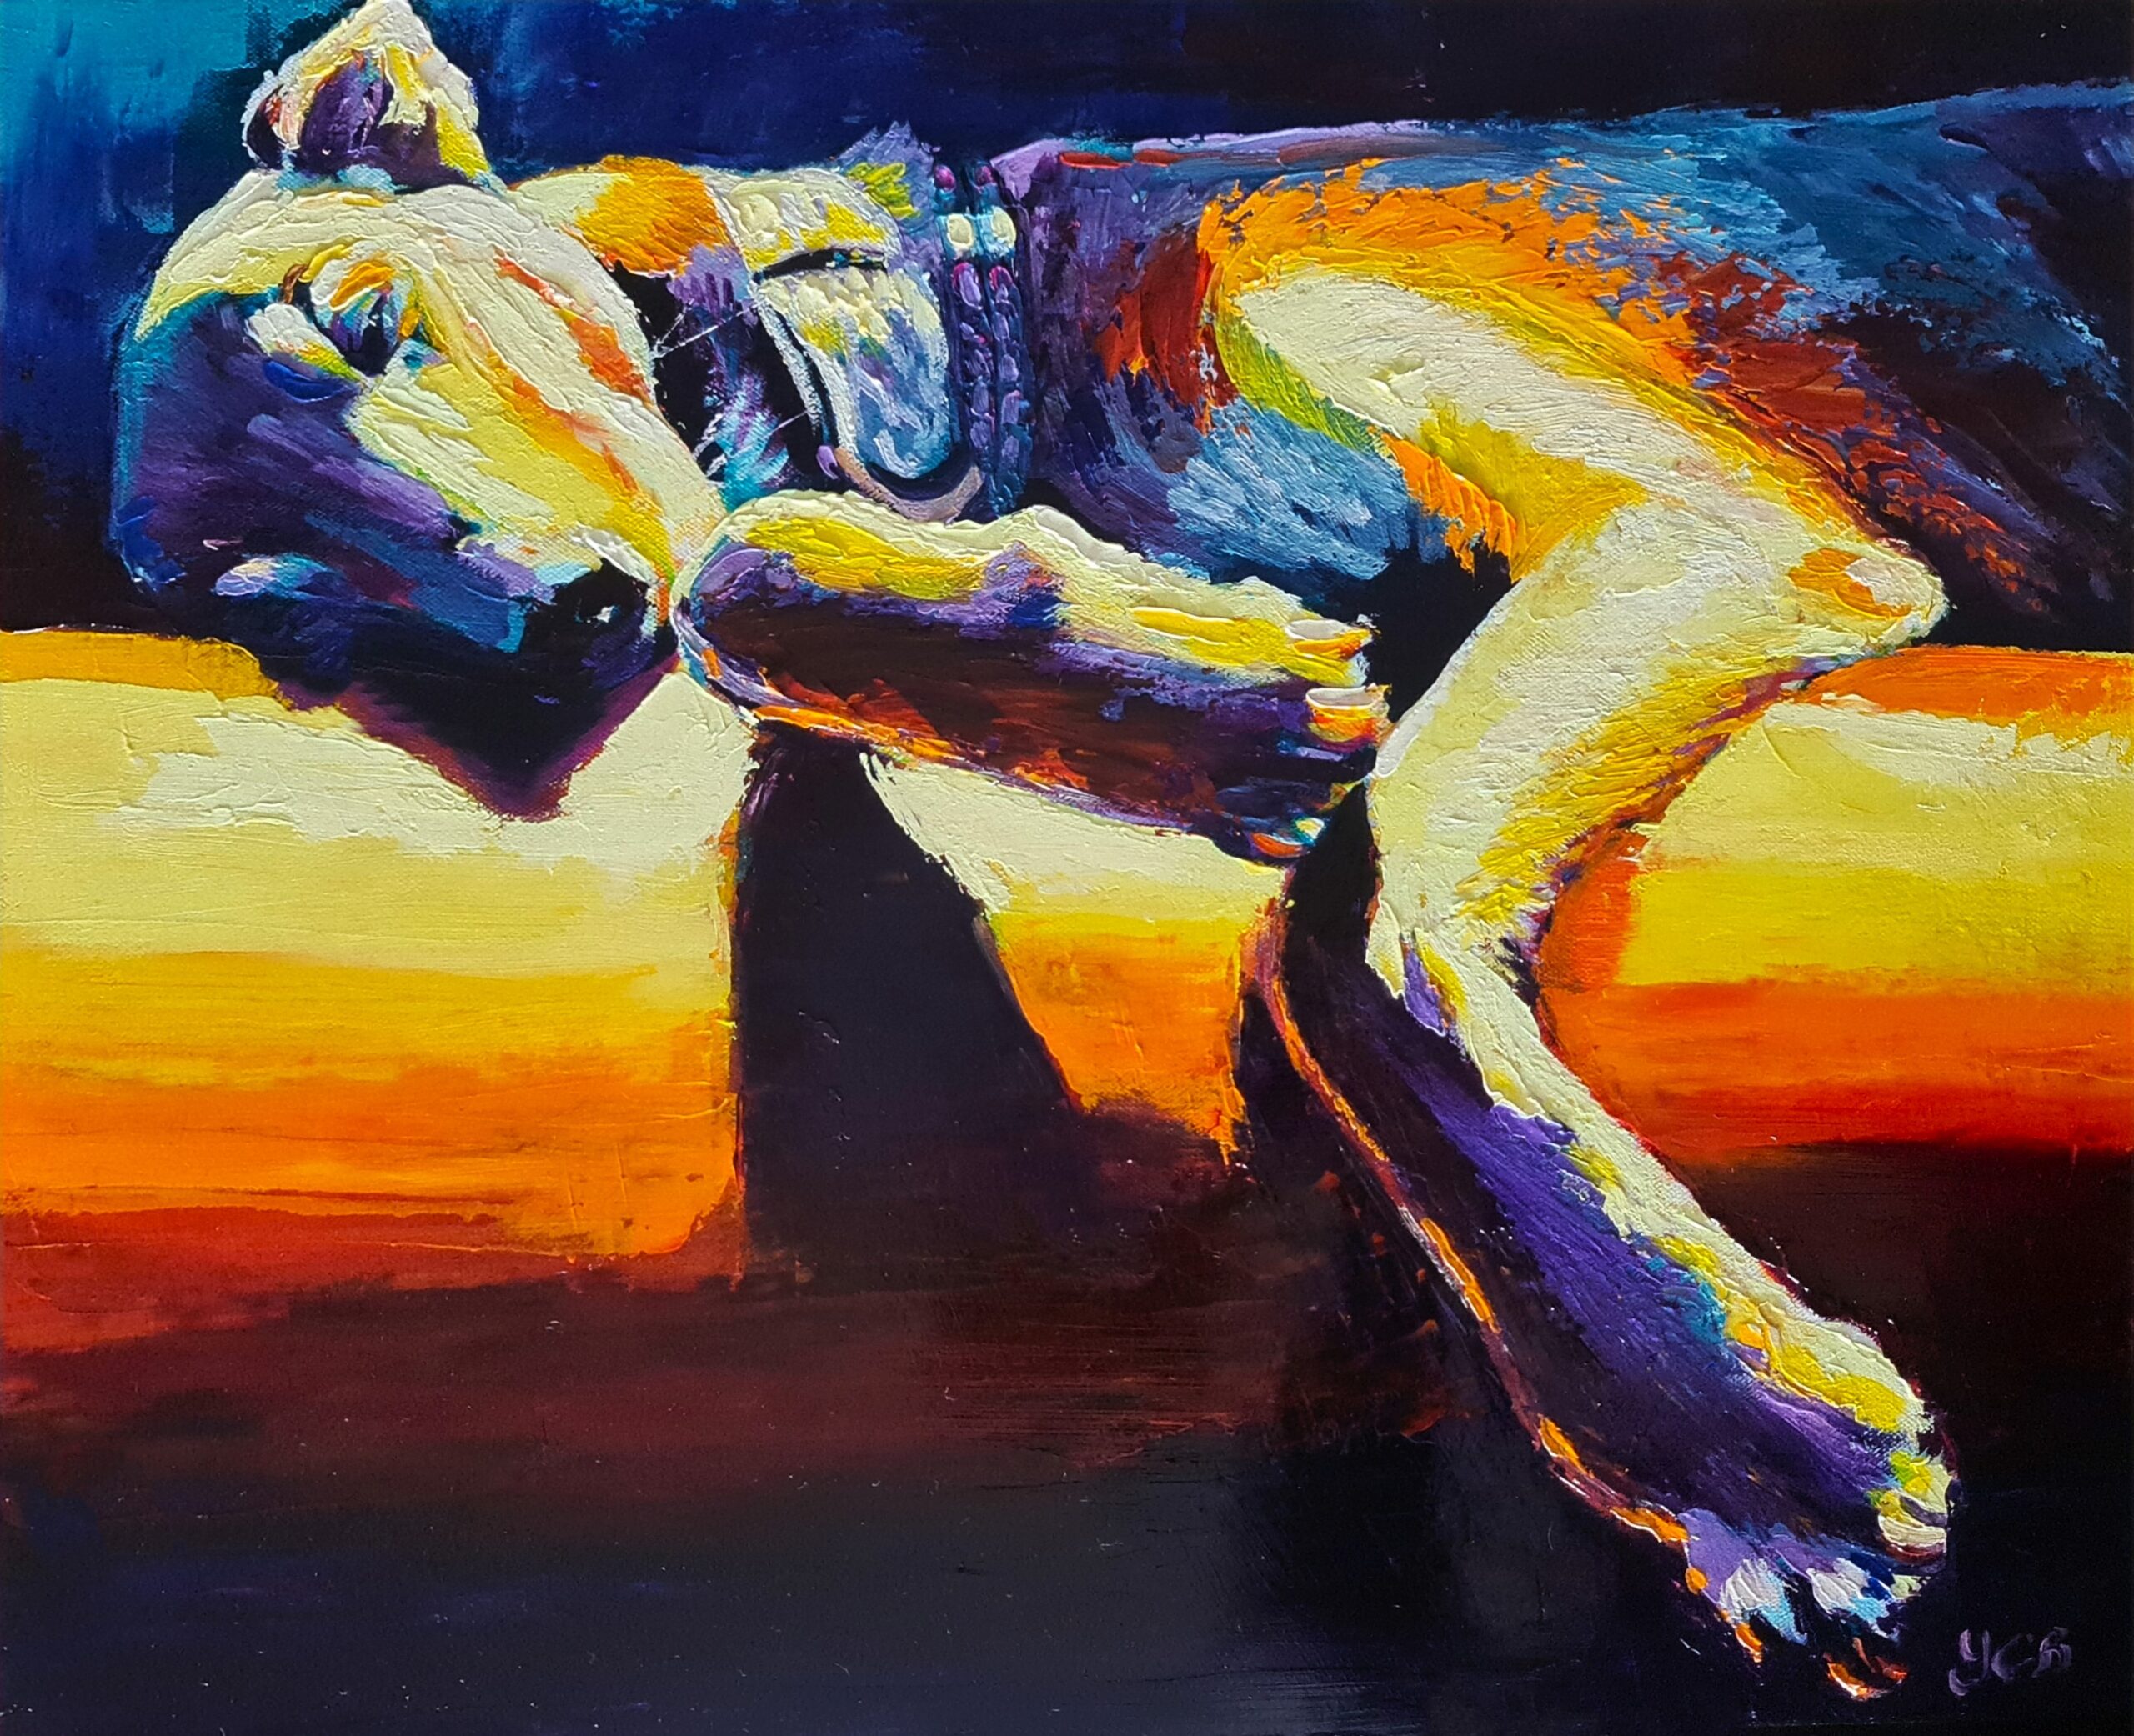
Saying Goodbye. Losing Otis To lose a dog is hard, its a raw emotion that affects everyone in different ways, but there is no doubt,
Saying Goodbye. Losing Otis To lose a dog is hard, its a raw emotion that affects everyone in different ways, but there is no doubt,
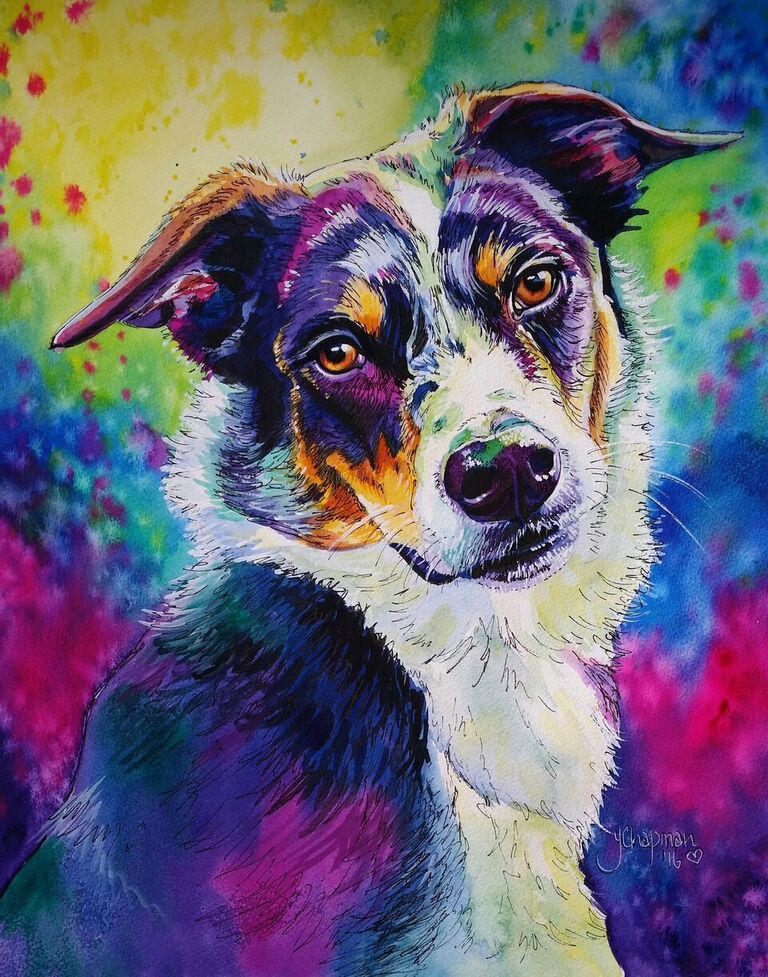
One Last Look, a watercolour portrait One Last Look was a painting I recently finished after having a slight doubt in my artistic abilities. For